return to section:
 Peeler Skiff build for Chesapeake Light Craft day 2.
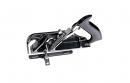
I started the day by flattening the puzzle joints of the bottom panels. I like to use my block plane to start this sort of thing, knocking of the high spots and most of the epoxy before moving on to the sander. This results in a much flatter joint, with much less sanding. It usually makes it less likely that I will go through the face veneer as well, but the second picture shows a small dark spot, where the veneer has been sanded through. This can be incredibly frustrating, but it happens to the best of us from time to time. It is best to cuss about it LOUDLY, and then move on. This one will be painted, so no biggie, but when finishing bright, creative solutions can be employed to hide these sorts of things. Decals or artwork come to mind.
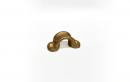
Next, I made ready the butt block by putting a roundover on the lower edges. This will be great later when it comes time to fiberglass the bottom exterior. It is very difficult to keep the fiberglass from lifting (bridging) in concave areas, so relieving these edges, as well as adding a big fillet of epoxy will eliminate a lot of frustration on exterior glass day. Horrible experiences of the past have taught me to look ahead whenever possible.
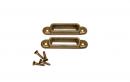
Next the two halves were joined using 2x4s covered in packing tape clamped to the panels to keep everything flat. The butt strake is attached with 1 1/4” drywall screws to hold it tightly until the epoxy sets. They will then be removed. It is a good idea to put the screws in a cup and spray WD40 onto them before using them to “clamp” a piece like this. Sometimes, if not coated, they will be glued in, and the heads will break off making it impossible to remove the screw. This will eventually create a rusty stain and an internal void where rot can start. So, I recommend coating them with WD40 so that they remove easily. (Pro tip)
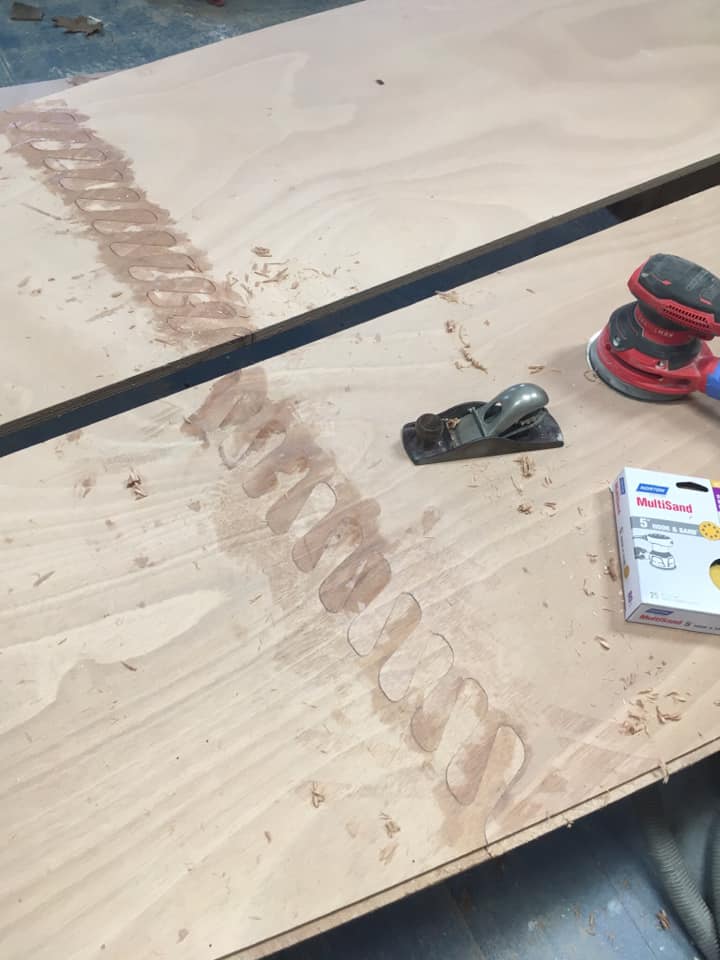
Much of the work of flattening the puzzle joints can be done with a block plane. It is quicker than sanding, and saves sandpaper.
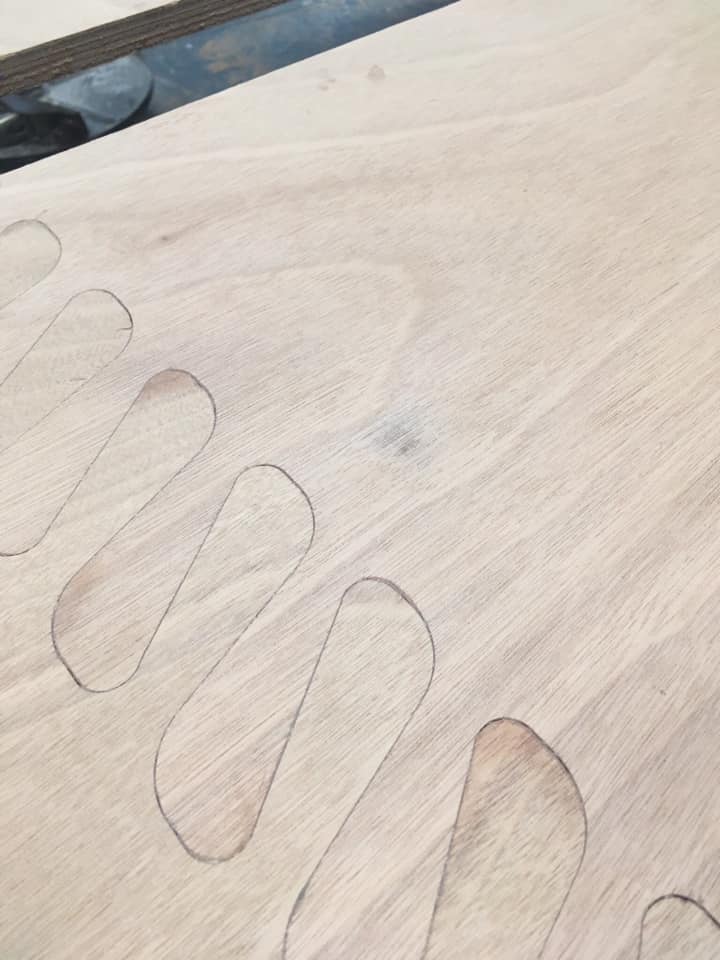
The small dark spot to the right of the puzzle joint is a spot where the veneer has been sanded through. Even the most careful sanding by a very experienced boatbuilder can create this irritating outcome. This one will be covered by paint in the end, but it still makes me mad.
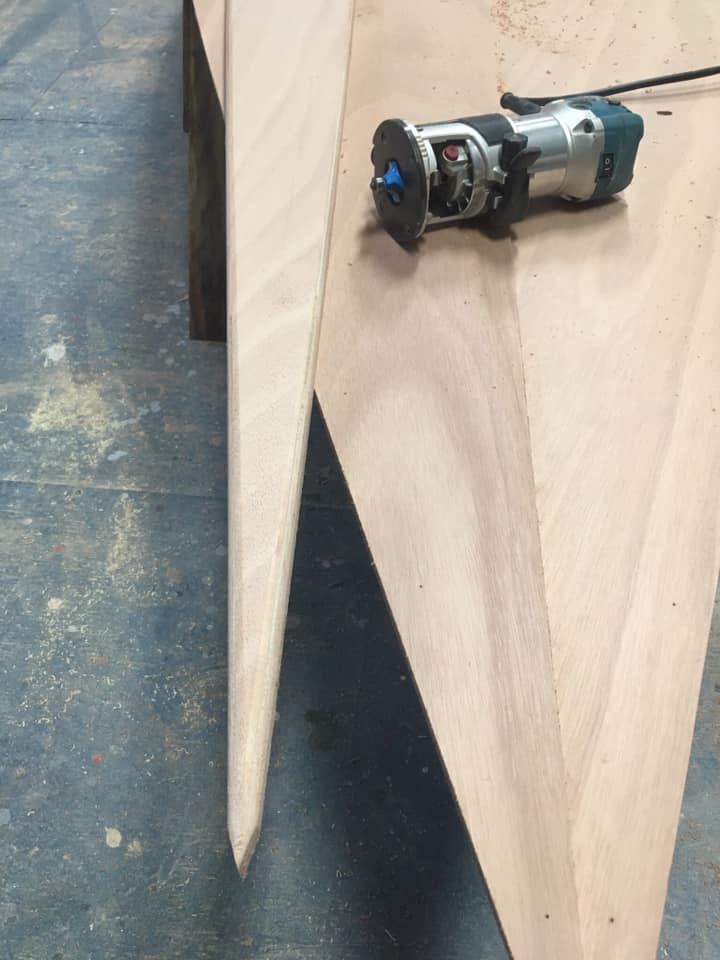
Rounding the edges of the butt block with a router will make fiberglassing much easier when I come to that step in a week or so.
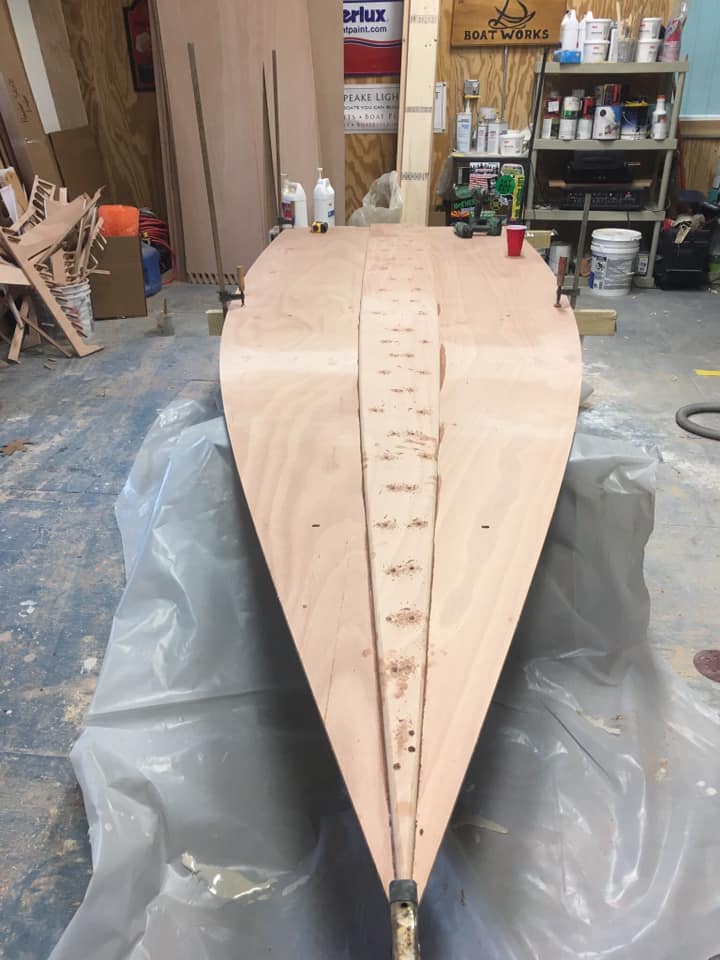
I used 2x4s clamped to the two haves to make sure everything stays flat. They are covered in packaging tape to keep them from gluing to the bottom. The butt block is “clamped” using drywall screws which have been coated with WD40 to keep the epoxy from sticking to them. They will be removed when the epoxy has set. The red cup in the picture is full of drywall screws I have been using time after time over the years for these types of jobs.