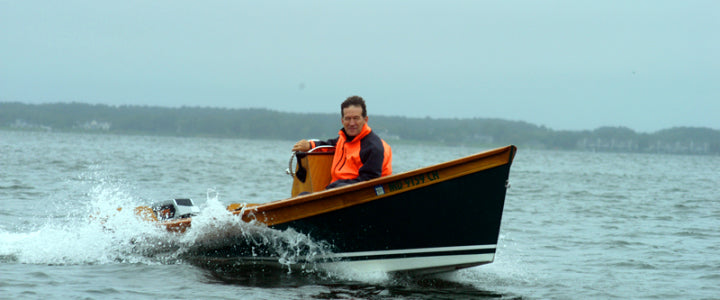
Building the Peeler Skiff: Part 03: Fiberglassing the Peeler Skiff
Building the Peeler Skiff for Chesapeake Light Craft: Day 3
Today I did the big job of fiberglassing the interior of the boat’s bottom. I started this by flipping the big panel right-side-up and then removing all epoxy squeeze out from the seam using the same method planing with the block plane first, then power sanding, as I had done on the puzzle joints. There were a few small voids in the seam which I filled with epoxy thickened with wood flour.
It is important to fill any holes or gaps which could create an air pocket beneath the fiberglass. Air space beneath the fiberglass will create a weak spot which will certainly break and be followed by moisture intrusion and fiberglass delamination. As a rule, if you can put your fingernail into it, fill it!