


Eastport Nesting Pram
- Skill Level Beginner
- Estimated Build Time 80 hours
Build this boat if...
-

Versatile
-

In-Depth Manual
-

Sophisticated Design
Builders also looked at...
Take One of our Boatbuilding Classes
We offer classes for many of the boats we sell. Teaching sites stretch from Maryland to Washington State and from Maine to California. Click here to find out more.Specifications
Performance
Stability
Speed
Cockpit Room
Payload
Ease of Construction
Overview
"Dinghy" is derived from an old Hindi word, dingi, meaning "small boat." It came into use in English with the same meaning in the 19th century. A dinghy is a small rowing and sailing boat, often (but not necessarily) serving as a tender to a mother ship.
At Chesapeake Light Craft, "dinghy" means the Eastport Pram and her larger sister, the Passagemaker Dinghy. Both boats are champion tenders. They can carry a decent load, don't take up much space, and were designed to be rowed, towed , or sailed.
The Eastport Pram is 7'9", which is pretty small, but still not compact enough for storing aboard the smaller classes of cruising yachts. If you need something with a tiny footprint, one choice is an inflatable. Dinghy snobs like us refer to them as "deflatables." They are heavy, expensive, prone to failure, and can't be rowed or sailed---so you're committed to carrying around an outboard and its fuel along with the soulless rubber bladder of the inflatable.
A winning alternative to the inflatable is the Eastport Nesting Pram. This design shares its hull form with our stock Eastport Pram. With over 800 of them built, it may be one of the most popular dinghies in the world. The Eastport Nesting Pram has a demountable front half which nests completely in the back half. The "nested" package is a manageable 4'9" x 4'0" rectangle that can be stowed on the decks of boats from large cruising yachts to pocket-cruisers. I can also nicely store in your apartment, RV, shed, or marina. The Eastport Nesting Pram takes two minutes to assemble or disassemble casually. You'd need some sort of pyrotechnic device to inflate (or deflate) an inflatable dinghy that fast.
We spent a lot of time refining the Eastport Nesting Pram. We were concerned that the only thing many extant nesting dinghy designs do well is....nest. We have kept all of the fun and function of the stock Eastport Pram---including the sailing rig---with no compromises for its nesting function. The nesting version is still just as easy to build. Though the nesting components mean that the assembled Eastport Nesting Pram is slightly heavier with its sailing rig on, when rowed against a standard Eastport Pram, it is just as fast.
The Eastport Nesting Pram is built full-length using the LapStitch™ technique and only cut in half after it is fully built. We build the entire pram as one piece to avoid ending up with any sort of kink where the halves join. The joint on the Nesting Pram is so fair that even quite close up, it's hard to discern that it's a nesting dinghy. At the joint are two very strong structural bulkheads. Six stainless steel bolts with large, easy-to-handle wing nuts fasten the front and back pieces together. The waterline is below the top of the bulkhead, so theoretically, it's impossible to ship water through the joint. A rubber gasket is included, however, which truly seals the joint and helps protect the finish on both faces of the hulls.
All Eastport Prams have holes for the temporary copper stitches drilled in the hull parts by our computerized machinery. Bulkhead locations are indicated by drill holes and machined "mortises" so there's no need for measuring, and the parts fit together exactly, every time.
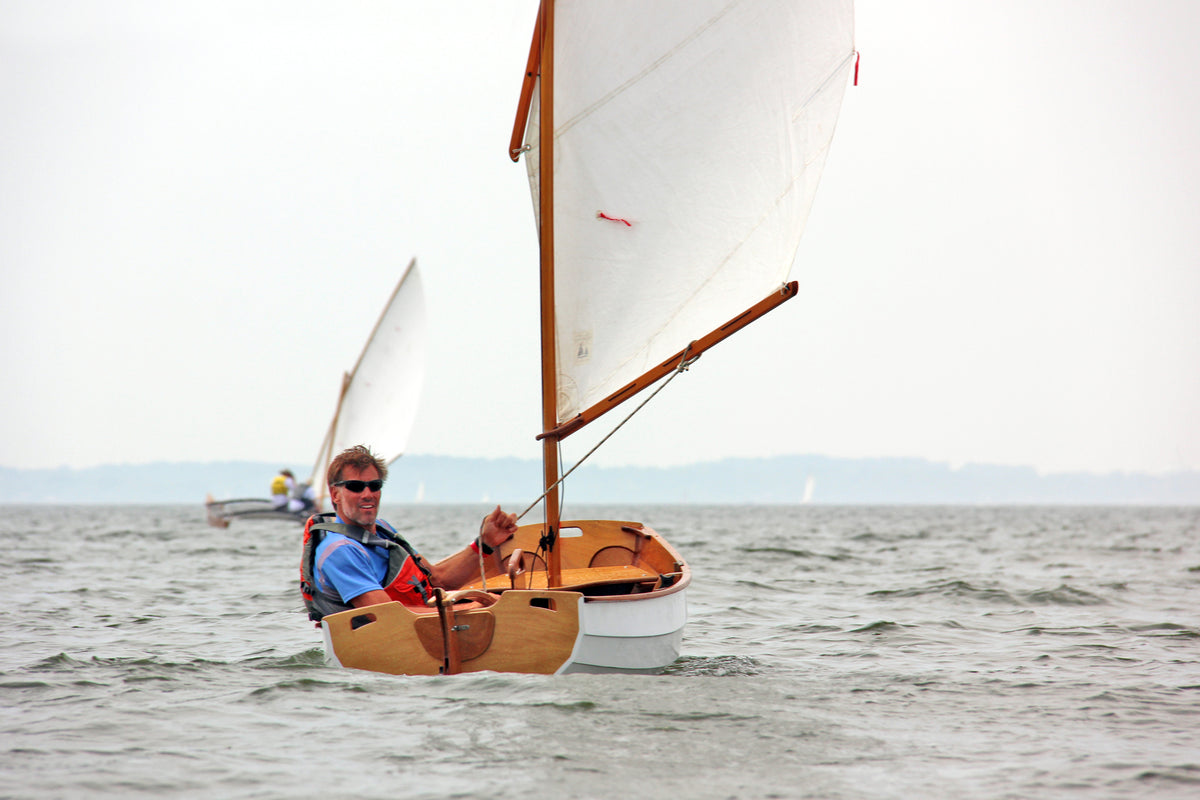
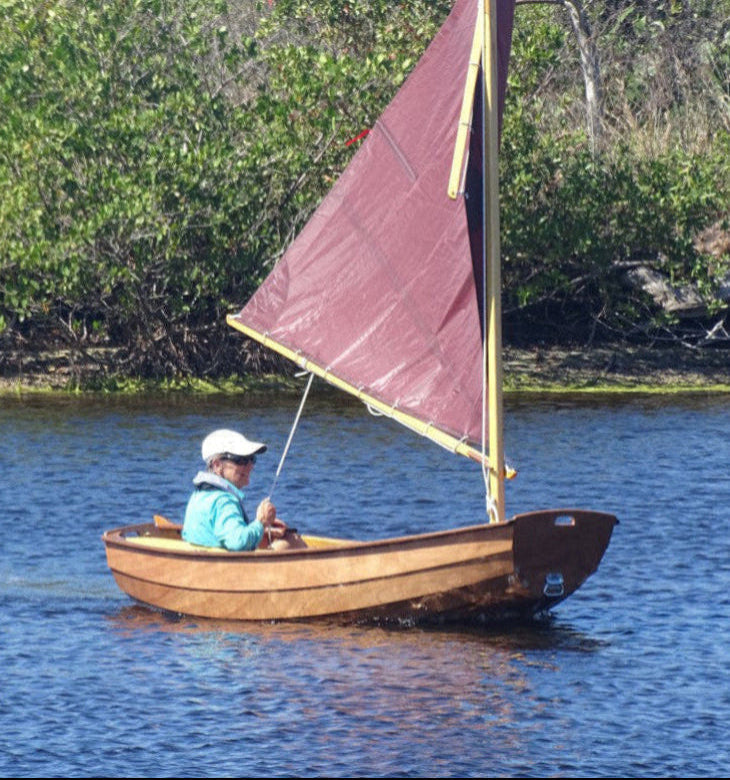
Several years ago, we updated the sailing rig. While the old rig was powerful and weatherly, the new rig is taller, bigger, and sports battens for a sleeker look and even more power on all points of sail. All this, and the Mark II mast is actually a foot shorter! This is a perfect sail-training dinghy for kids OR adults.
We gave the Eastport Pram deep rocker for low wetted surface and to keep the transom from dragging. The result is a boat that is as easy and satisfying to row as you can expect on such a short waterline. Used as a tender to a larger boat or kept at a dock, it's possible to undertake a long afternoon row around the local waters without breaking a sweat. Yes, an outboard or trolling motor may be fitted up to a maximum size of 2 horsepower,
Small tenders should be able to withstand heavy handling alongside the mothership or in the dinghy park. The planking is 6mm Okoume throughout, with three 9mm frames and seats. There’s a big, deep skeg for tracking under tow. In addition to multiple layers of fiberglass on the bottom panel, there are two cypress rubbing strips on the bottom to take the abrasion of dragging on a beach. For added safety, foam flotation is fitted beneath the seats.
Our plans sets, for those starting from scratch, comprise full-sized patterns for every part and a complete instruction manual specific to the Nesting Pram.
What builders are saying
Main Gallery


Construction Gallery


Line Drawings


Videos

Chesapeake Light Craft's Nesting Dinghy

Building our Wooden Dinghy, the Eastport Nesting Pram from Chesapeake Light Craft - Ep 28

Emily Builds a Sailboat - PART 1 - CLC Eastport Nesting Pram

Sawing an Eastport Nesting Pram into two pieces

WOOHOO! Sailing my Chesapeake Light Craft Eastport Pram

Eastport Nesting Pram
Frequently Asked Questions
Take One of our Boatbuilding Classes
We offer classes for many of the boats we sell. Teaching sites stretch from Maryland to Washington State and from Maine to California. Click here to find out more.
View ClassesNeed Help Building it?
We’re here to help with any questions you might have during the build process.